Moon Viewing Tips: How to Catch the Best Shots
Ever looked up and wished the moon was bigger, clearer, or simply more photogenic? You’re not alone. With a few easy tricks you can upgrade any night sky session without spending a fortune. Below are the basics that work for beginners and seasoned sky‑watchers alike.
When to Watch the Moon
The first thing to sort out is timing. The moon goes through phases, and each phase offers a different look. Full moons are bright but can wash out details. If you want craters and shadows, aim for the waxing or waning phases—around the first and last quarters. Those times give you a sliver of sunlight on the surface, which creates the contrast you need for sharp photos.
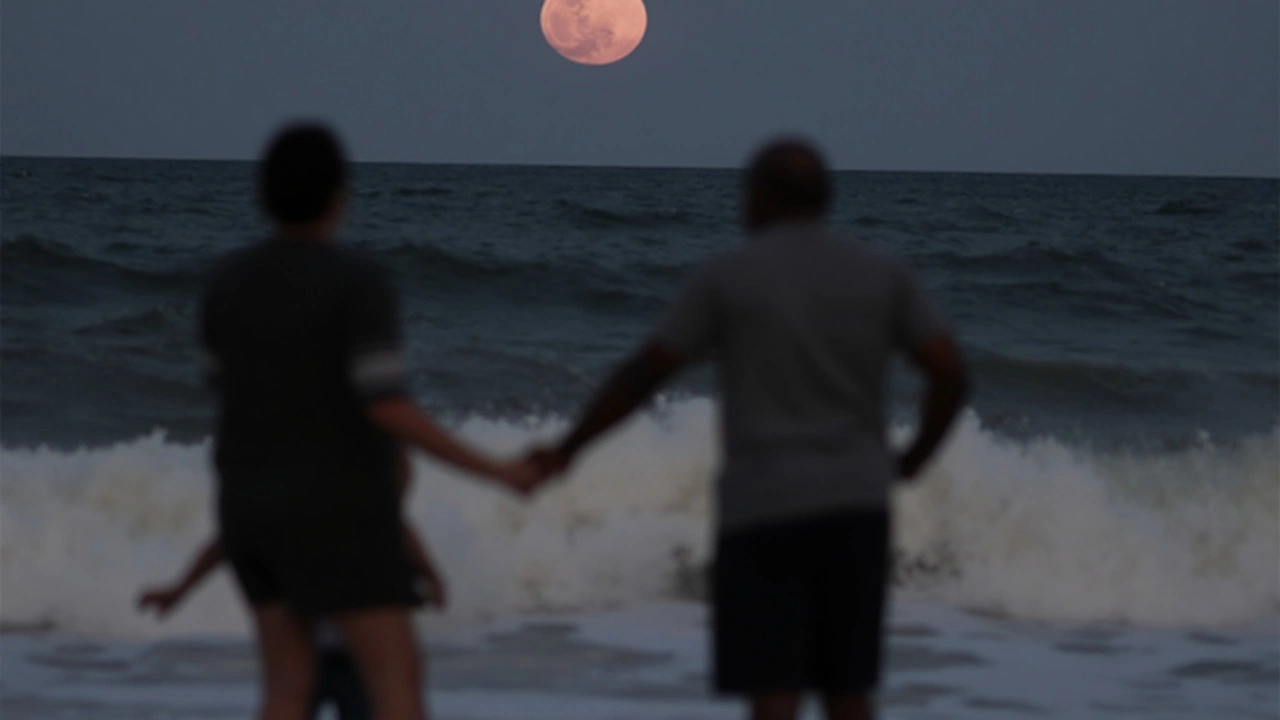
Check a lunar calendar or a simple phone app. Most apps will tell you when the moon rises and sets each day. The best window is usually within an hour of moonrise or moonset when the moon sits low on the horizon. The atmosphere acts like a natural filter and adds a gentle orange glow that makes the scene more dramatic.
Weather matters too. Clear skies are ideal, but a thin layer of high clouds can actually add texture without blocking the view. If you’re in a city, try to find a spot with minimal light pollution—parks, rooftop decks, or even an open field a few miles out.
Gear and Setup
You don’t need a massive telescope to enjoy the moon. A small refractor (around 70‑80 mm) or a good pair of binoculars can reveal impressive detail. If you have a DSLR or mirrorless camera, set it on a sturdy tripod and use a 200‑300 mm lens. The longer the focal length, the larger the moon looks in your frame.
When you’re shooting, turn off any image‑stabilization—your tripod already keeps the camera steady. Use a low ISO (100‑200) to keep the image clean, and set the aperture around f/8 to f/11 for sharpness. The shutter speed will vary; start around 1/125 sec and adjust based on the brightness. A remote shutter release or the camera’s timer helps avoid shake.
If you’re just watching with the naked eye, bring a lightweight blanket and a thermos of warm drink. Comfort makes the experience more enjoyable, especially on cold nights. A simple red LED flashlight preserves night vision while you adjust your gear.
Lastly, plan a quick test shot. Review the image on your camera’s screen, zoom in, and check for sharpness. Tiny adjustments to focus or a slight shift in the tripod can make a big difference. Once you’re happy, snap a few frames—capture the moon as it moves across the sky.
With these tips, you’ll turn any ordinary evening into a mini adventure. So grab your gear, check the lunar calendar, and step outside. The moon is waiting, and you’ve got everything you need to see it at its best.